About
Contact
Gina Gibson
simple, healthy, meals
Home
Blog
Recipe Index
Appetizers
Breakfast
Dinner
Salads
Desserts
Smoothies & Juices
Lifestyle
Mom Life
Travel
Shop
Kitchen
Home
Beauty
Dress Me
Baby & Toddler
Homemade Products
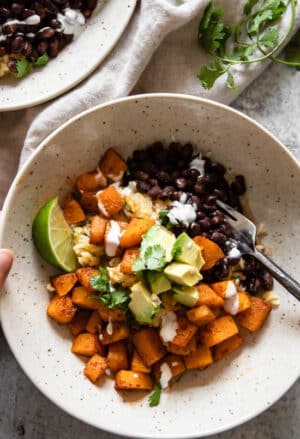
Roasted Butternut Squash Fall Bowl
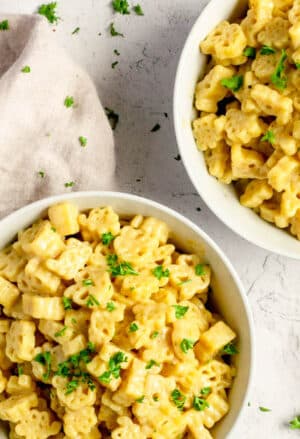
Vegan Mac & Cheese – Nut & Dairy Free
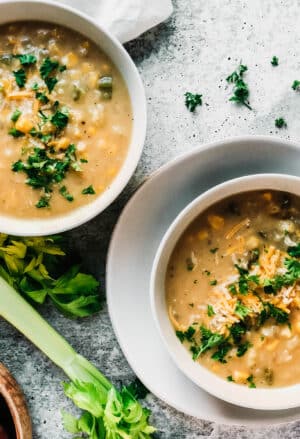
Potato Corn Chowder
Tomato & Rice Soup
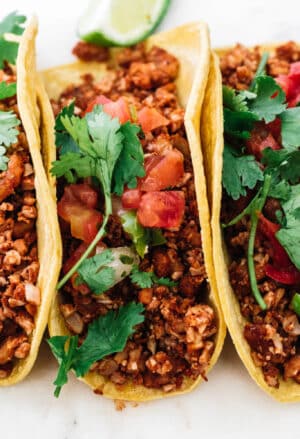
Cauliflower and Walnut ‘Meat’ Tacos
1
2
3
…
13
Next Page »
Current hyper-fixation lunch right here. I’ve bee
Crispy Chicken Parmesan Pasta with Burrata 🍝 My w
The higher protein breakfast everyone in my house
A cheesy, hearty, high protein taco skillet taco s
2 lb chuck roast, multiple dinners — mashed potato
Unlocking summer. I’m so ready and these @bloomsup